Step-by-Step Guide to Creating Your Own DIY Breakfast Nook: Cozy, Stylish & Functional
Table of Contents
Introduction
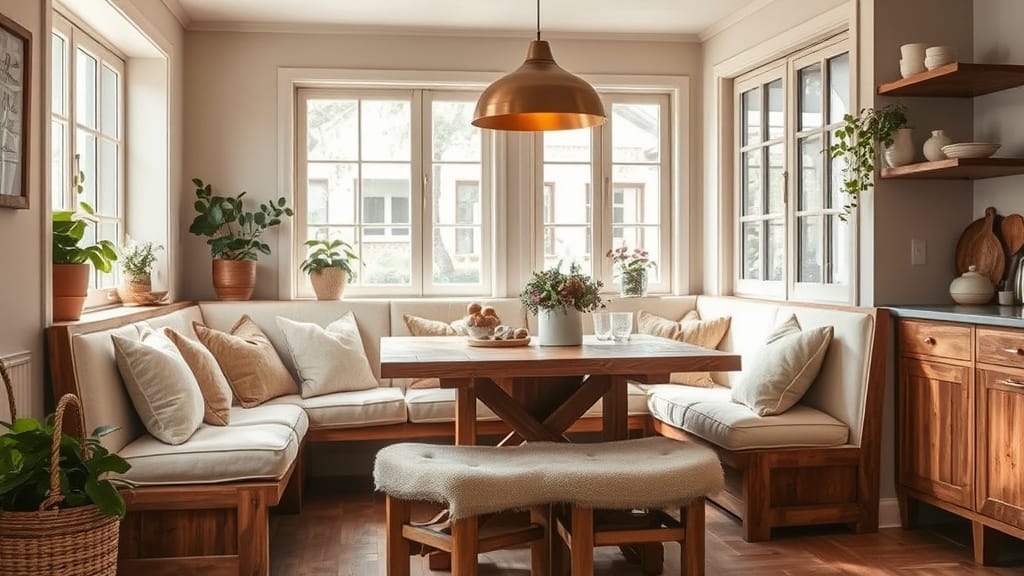
Imagine starting your day in a cozy corner, sunlight pouring in, coffee in hand—welcome to the charm of a breakfast nook. Whether you’re short on dining space or simply want to create a more intimate spot for meals, a DIY breakfast nook is a rewarding project that combines style, comfort, and function.
According to a 2024 Houzz report, breakfast nooks are trending in both small-space renovations and open-plan homes, with a 27% increase in homeowner interest over the past year. Why? They’re practical, inviting, and easier to build than most assume.
This guide will walk you through everything from layout planning to seating choices, storage integration, and design tips. Whether you’re working with a bay window, a kitchen corner, or a blank wall, we’ll help you create a breakfast nook that feels custom, cozy, and totally you.
Outline
1. Determine the Best Location
- Consider natural light and flow near the kitchen.
- Corners, bay windows, or open walls work well.
- Ensure the space doesn’t obstruct pathways or major traffic zones.
2. Choose Your Seating Style
- Built-in banquette: great for storage and space-saving.
- Freestanding bench: easier to install and move.
- Mix with chairs for comfort and flexibility.
Table: Seating Options Overview
| Seating Type | Pros | Considerations |
| Built-in Bench | Space-saving, storage below | Requires carpentry or prefab unit |
| Freestanding Bench | Flexible, easy to move | Less integrated look |
| Banquette + Chairs | Comfortable, casual style | May need extra floor space |
3. Build or Source the Base Seating
- Use stock cabinets for DIY built-in benches.
- Add plywood tops with hinges for hidden storage.
- Use cushions or upholstered tops for comfort.
4. Select the Right Table
- Choose size and shape based on available space.
- Round tables work best in tight corners.
- Extendable tables are great for hosting.
5. Add Cushions and Upholstery
- Choose durable, washable fabrics like cotton or performance linen.
- Layer throw pillows for added comfort and style.
- Customize with tufting, piping, or patterns.
Table: Fabric Options for Breakfast Nook Seating
| Fabric Type | Benefits | Ideal For |
| Performance Linen | Durable, fade-resistant | High-traffic family zones |
| Cotton Canvas | Washable, casual vibe | Everyday comfort |
| Vinyl or Faux Leather | Easy to wipe, modern look | Kid-friendly seating |
6. Style the Space with Decor
- Hang pendant lighting above the table for focus.
- Use framed art, mirrors, or floating shelves.
- Add a centerpiece: small vase, seasonal greenery, or a fruit bowl.
7. Incorporate Smart Storage Solutions
- Lift-up bench seating for hidden storage.
- Add drawers to the base of built-ins.
- Use under-table baskets or floating wall shelves.
8. Finishing Touches for a Cohesive Look
- Match the nook to your kitchen’s color palette.
- Use coordinating trim, paint, or finishes.
- Add a rug to ground the space and define the zone.
Detailed Content Expansion
2. Choose Your Seating Style
The foundation of your breakfast nook lies in the seating—both in form and function. Selecting the right style depends on your space, skill level, and how you want the area to function day-to-day.
Built-in benches (banquettes) are ideal for small spaces because they can be pushed into corners and offer hidden storage beneath the seat. They create a tailored, cohesive look that feels permanent and custom. This option is best suited for homeowners who enjoy woodworking or are hiring a contractor, although many DIYers use stock kitchen cabinets or IKEA bases as a shortcut.
Freestanding benches are a great alternative for renters or anyone who wants flexibility. Pair them with plush cushions and a few accent chairs to maintain comfort and design balance. Mixing a bench on one side with dining chairs on the other allows for easy movement and a casual, eclectic look.
A hybrid approach—banquette on one or two sides, paired with chairs or stools—offers the best of both worlds: the efficiency of built-ins with the flexibility of individual seating.
Table: Seating Style Comparison
| Feature | Built-In Bench | Freestanding Bench | Mixed Seating |
| Flexibility | Fixed placement | Movable and adaptable | Moderate |
| Comfort | High (with upholstery) | Depends on design | High |
| Storage Option | Hidden under seats | Limited (if any) | Optional via accessories |
| DIY Difficulty | Medium–High | Low | Medium |
Pro Tip: When building a banquette, leave a seat height of ~18″ and a depth of ~20″ for maximum comfort.
5. Add Cushions and Upholstery
Cushions turn your breakfast nook from functional to cozy and inviting. A well-upholstered bench invites you to linger over coffee, work from your laptop, or enjoy lazy Sunday brunches.
Start with a bench cushion—you can buy one custom-fit or DIY it with foam, batting, and fabric. Aim for 3–4 inches of high-density foam, wrapped in a durable, stain-resistant fabric like performance linen, cotton canvas, or faux leather.
Layer with throw pillows for added back support and visual interest. Mix shapes and patterns (e.g., solid + stripe + botanical) but stay within a coordinated color palette to maintain cohesion.
For a more tailored look, add details like piping, buttons, or tufting to your cushion covers. If you’re handy with a sewing machine, this is a great chance to personalize your seating affordably.
Table: Cushion and Fabric Planning Guide
| Element | Suggested Specs |
| Foam Thickness | 3–4 inches (high-density) |
| Cushion Length | Full width of bench or nook |
| Fabric Type | Washable, heavy-duty (linen, canvas) |
| Pillow Fill | Down alternative or polyfill |
| Care Tips | Zippered covers for easy removal |
Pro Tip: Use Velcro strips or ties to secure cushions and prevent sliding.
Conclusion
Creating your own DIY breakfast nook is a stylish and budget-friendly way to add function and charm to your home. With the right planning, materials, and design touches, even a small corner can become a cozy retreat for morning coffee, casual meals, or evening wind-downs.
From choosing the right seating and table to incorporating storage and adding personality with decor, each step plays a part in building a space that’s both practical and beautifully yours. With this step-by-step guide, your dream nook is only a weekend project away.